Inspiration Board – or not!

I always get ahead of myself or rather get ahead of the project.  Whenever my husband and I renovate (and we have been doing that for over 20 years!) he is still in the ‘bust and build’ state while I am already decorating the space.

We are on track renovating our cottage, the drywall is up and the new window is in, the kitchen cabinets are assembled and the countertop is ordered.  But way before all this I have been buying fabric, rugs, furniture accessories etc. all the little touches that will coordinate the final presentation.  Make the finished space just ‘right’.

I pulled together my inspiration board which is always helpful to visualize the space.

I pictured our cottage done in white, warm wood, sisal and hits of blue to give a pop of colour to the space.  I choose Benjamin Moore Oxford White CC-30 for the walls (new drywall) which is a nice bright white.  The long wall across from the windows is paneled in pine.   The sofa is an existing Bauhaus sectional that we have had for years and works really well in the space.  The sectional is in a neutral weave fabric of which I replaced the back cushion covers with natural canvas.  I bought a new area carpet – IKEA Tårnby, a natural fibre carpet that has a great textural appeal giving the room a warm organic look.

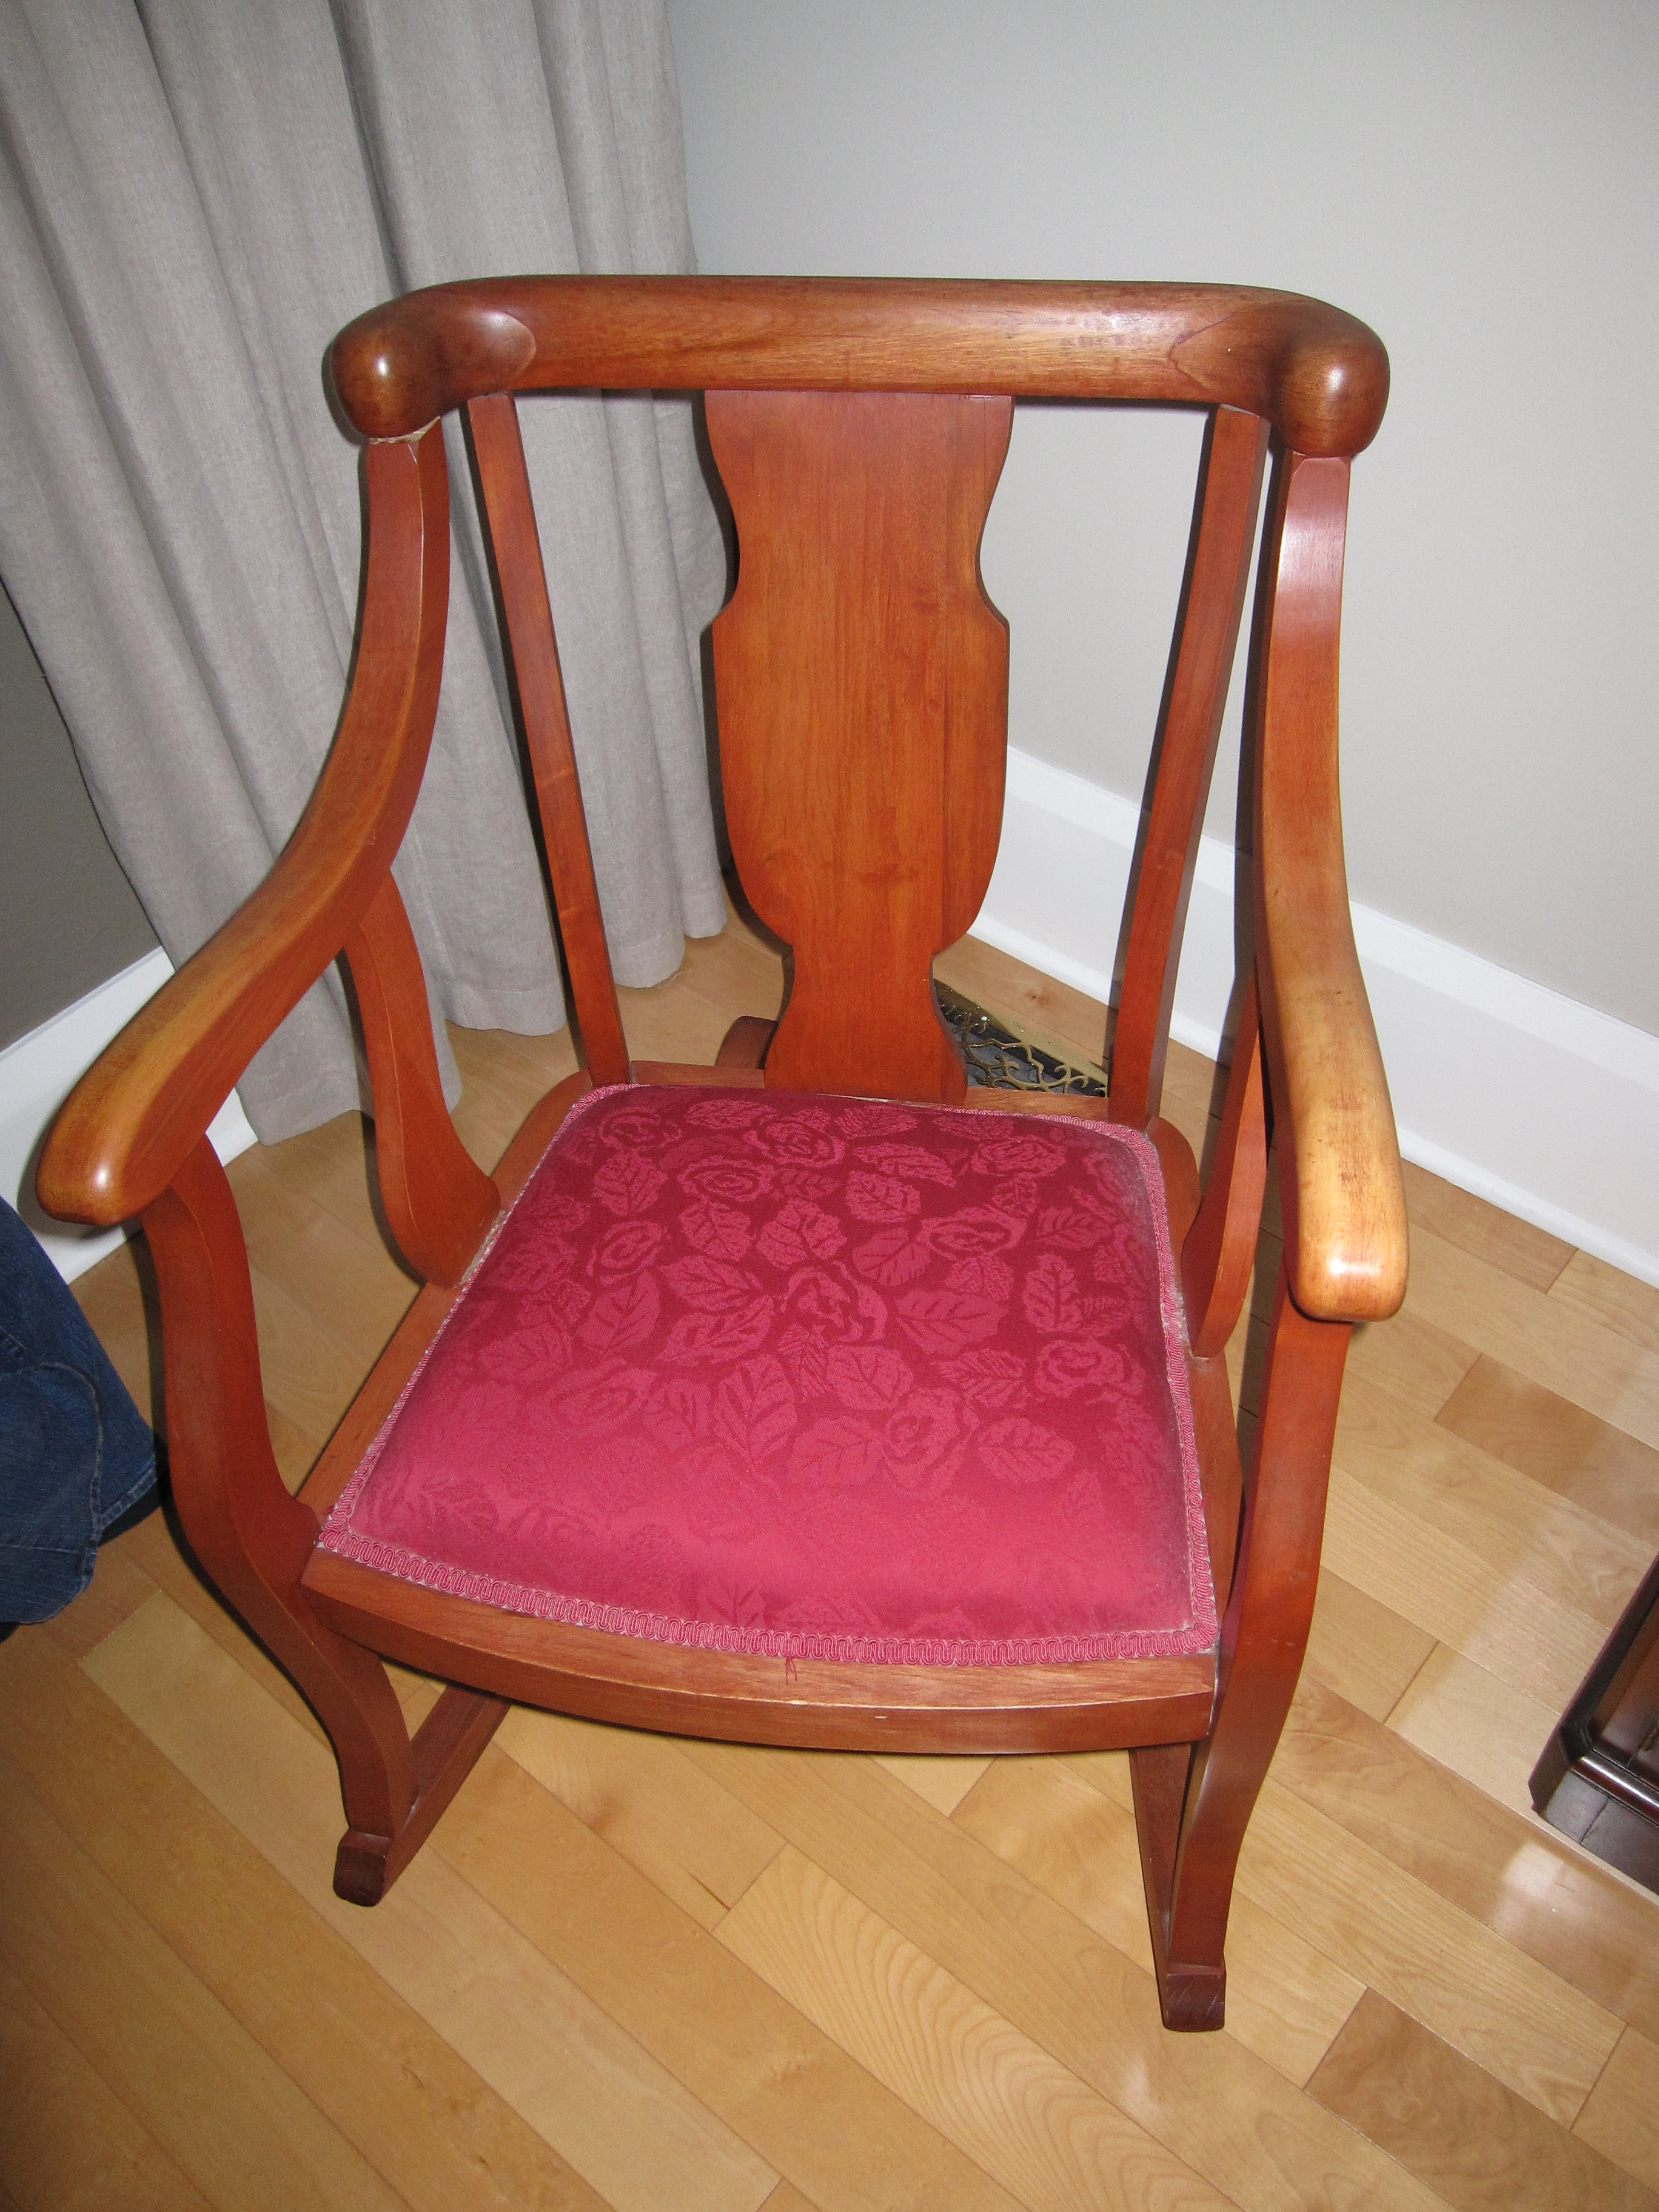
To keep the room bright I bought 3 coordinating fabrics that I will sew into cushions for the sofa.  Crisp blue and white fabrics with lots of white accessories in the room will give a fresh, lakeside feel to the cottage interior.  I decided to replace the existing large upholstered (red) chair as its size was not appropriate for the space.  I wanted something light coloured and airier in appearance.  On Craigslist I found a leather IKEA Poäng chair (wish it was an Alvar Aalto Lounge Chair! – check out my previous  post here) which I thought would be perfect for the room.  Gotta love Craigslist!

Ok…..so I had it all figured out.  I knew exactly in my mind how this space was going to look.  WRONG!!!!

This past weekend when we started to put the furniture, carpet, etc. back into the cottage I realized the room looked nothing like my inspiration board.  I think my biggest miscalculation was the light.  The natural light that floods the room from all the windows changes the sense of the room.  The colours – paint and fabric, the furniture etc. all read very different.

And I love it!

So stay tuned……….


The Cottage Renovation continues….

Winter time is ski season so the cottage renovation went on hold for a few months……..

Fortunately the snow finally melted and work was back on.  Of course one thing lead to another and a small renovation became a bit larger renovation.  While moving the kitchen cabinets they literally fell apart due to age.  So we had to replace them.  While working around the kitchen window it cracked so we had to replace it.  The silver lining to all this is that it gave us the chance to re-think how we could improve the function of the kitchen/cottage.  We decided that the view was more important than storage so we opted to install a larger window over the counter and forgo the upper cabinets.

While researching new kitchen cabinets we decided that the original layout was a bit awkward with the stove blocking access to the last cupboard so we decided to design the new cabinets in an L-shape configuration.

No gut job is ever nice.

A photo from an issue of Canadian House and Home magazine featuring a space with a sloped ceiling and exposed beams with the combination of whites and wood provided some inspiration.

The renovation keeps moving along.  Stay tuned.


Our Cottage Renovation

This past winter we headed up to our cottage or our ‘cabin in the woods’ (fondly coined by my Father-in-Law) to begin a cottage ‘make-over’.

Structurally everything was sound; this renovation was more about aesthetics.  When the cottage was re-built in the early 1970’s the ceiling was only 7 ½ feet high (will never understand why!!) which not until recently posed any problem.  But now our very tall son whenever he passed under the ceiling fan had a good chance of being scalped!  So get rid of the fan or raise the ceiling?  We opted to raise the ceiling.  And this was also the perfect time to redecorate!

This project that has spread out over many weekends started one snowy day in early January.  During winter we are not able to drive up to the cottage so we walk in from the road.  There is no plumbing, the stove is not hooked up and the power often goes out in the middle of the night.  Brrrrr!  All provisions must be carried in and heated over the wood stove.

My husband and son emptied out the space and piled all the furniture into the bedrooms/bathroom/porch.

We also decided that since we were changing the ceiling we would get rid of the 1970’s wall paneling that in an attempt to disguise had painted red a few years ago.  Not sorry to see any of it go including all the red upholstery.  I realize now I tire of red real quick.  Accents yes, walls and upholstery no!!  Lesson learned.

Notice in the bedroom photo the taxidermy deer head!  This was given to us from friends (who no longer wanted it themselves – it scared the grandkids) and right now we are in debate as to whether it will hang in the new space!!!!  Stay tuned.

All images via Modmissy


My White Bedroom

‘Change’…..it’s time for change again.

When the weather starts getting warmer I change all the linens and accessories in my bedroom.  The room faces west and receives the hot afternoon sun so my summer bedroom gets the all-white treatment giving both a cooler look and feel.

Layers of white cotton linens on the bed give a ‘cool as cotton’ sensation.  I made the duvet cover from 2 sheets that we (hubby and I) brought back from Venice while travelling through Europe many years ago.  Hubby carried these king-sized sheets plus 2 cotton tablecloths in his knapsack for a month!  (had to throw out some of his clothing to fit them in!!)  The cotton chenille fringed bedspread is vintage and originates from the same era as my beloved orange lamps.  The cushions from West Elm provide the pop of colour on the bed.

The bergere chair is slipcovered in white cotton and the art above the dresser is exchanged for a white mirror.

My otherwise contemporary home gets a shabby chic makeover in the bedroom.  Bring on the summer!


My Front Porch – Summertime

I love going to fabric stores.  It is like an overload on the senses – looking, touching and imagining.  As I walk amongst the bolts of fabric, admiring the many beautiful fabrics, running my hands along them to feel them, my mind starts racing trying to envision where I could use them all.  So many gorgeous fabrics – not enough projects!

On a recent fabric store adventure I came across this fabulous orange/white fabric that I fell in love with – I bought 2 yards.

I decided to use the fabric for seat cushions on the chairs in my enclosed front porch.  My sewing skills gained from grade 7/8 Home Ec. are fairly rudimentary but I can sew cushion covers.

My front porch spring/summer cushions were looking faded and boring so the new orange/white gives the needed punch.  The patterned pillows which coordinated perfectly came from HomeSense thanks to a good friend who found them for me!  The twig furniture (hubby and I made many years ago), lots of potted flowers, good lighting to read with and candles in the evening makes this porch my summer oasis.

All Images via Modmissy


Yonge and Adelaide St

Sitting at the corner of Yonge St and Adelaide St in downtown Toronto are the Lumsden Building and Dundee Place. A picture of contrasts; old architecture and new architecture. Bricks and mortar. Granite and glass.

I always write about change; that change is good. But sometimes change is not by choice but is the result of modification to fit the present and accommodate the future. In 1909 a transformation took place, one of Toronto’s early skyscrapers was built. Standing at an impressive 10 stories high The Lumsden was unrivaled by the 3 and 4 story surrounding structures. In 1909 Yonge St was lined with drug stores, Biltmore hat shops, YWCA Cafeterias, tea rooms, menswear shops, luncheonettes and tailors. But the future was business, and businesses needed upscale addresses. The Lumsden provided that. Fast forward to 1991, more opportunities were needed at the corner of Yonge and Adelaide so Dundee Place was built providing 31 floors of business opportunities. So….which building will stand the test of time?

Here is a photo showing The Lumsden on Yonge Street in 1939.

  1. Photo Courtesy of City of Toronto Archives
  2. Photo by Modmissy


Thrift Shop Swap Party

Having posted many times about my ‘great finds’ from thrift shops, antique shops and curbside I thought it would be fun, not to mention interesting, to see how other friends are ‘thrifting’.  Thrifting is often one of those things that people don’t like to admit they do although in these days of ‘green’ and ‘reduce, reuse and recycle’ it is becoming less of a taboo.  Last night I hosted the first ‘Thrift Shop Swap Party’.  It was a lot of fun and their certainly was lots of laughter.  On the invitation to everyone I explained that the item should be something that you love, something that you would like to receive.  I had everyone wrap their gift up so that the item was a secret, hence the swapping frenzy.  We all picked numbers and in order began the choosing or stealing of a gift.  As each gift was unwrapped and revealed the gifter told their story as to how they came to choose/find the item.  Curbside, antique shop, thrift shop, rescued from a pile after a hotel fire, neighbour to neighbour passed item, there was every imaginable source.  With a variety of people, females and males, I knew there would be a good assortment of items appearing.  There were a couple of great chairs, a white French country-style end table, some beautiful pieces of ceramic and pottery, a whole box of current books and lots of other gems.  I believe everyone went home quite happy with their new-found treasure.   Move over Tupperware party, here comes the Thrift Shop Swap Party! 


                           All Images via Modmissy

Preparing Your Home for Fall

Summer has faded away and autumn has officially arrived; the days are getting shorter and the air is turning cooler.  The crunching of leaves underfoot will soon turn to the crunching of snow underfoot.  Thoughts of warmth and cocooning come to mind at this time of year.  The change of season also leads to a change in décor inside your home.   Spring and summer’s cooler and pared back décor changes to layering up rooms with texture, pattern and rustic finishes adding warmth to a home.  As we prepare for the advance of chillier weather and of more time spent indoors here is my list of preparing your home for cooler weather. 

1.   Switch up your summer bedding, adding layers of comfort and warmth.  Pamper yourself with cozy bedding.  Put the cool cottons away until next spring. 

2.   Introduce seasonal colours into what you already have, choose warmer   shades of yellows and reds, earthy browns and greens.  Replace summer cushions with luxurious velvets and faux furs.  Indulge in seasonal flowers and rustic arrangements.

3.   Switch up your clothes closet: pack summer items away, bring forward    fall/winter clothes.  Indulge in a cashmere sweater. 

 4.   Add a throw blanket into a room; wrap yourself up in warmth. 

 5.   Update your pantry with comfort food.  Spoil yourself with seasonal goodies.

 6.   Wear some chunky wool sweaters and decorate with chunky wools.  

7.   Re-arrange your furniture to make a room feel warm and inviting, group furniture into intimate conversation areas. 

8.   Cover bare floors with area rugs that feel good and provide warmth underfoot. 

9.   Create a cozy reading spot.  Read a great book.  Sip on warm tea.  Pour a glass of wine. 

10.   Light some candles, evoke a peaceful mood.

Cooler weather, or rather down right cold weather, is a time to indulge, pamper and spoil self.  Let the good times begin!  


                   TIME TO COCOON!

Re-using 1970’s Paneling

As I have mentioned in previous posts I live in a home that is about 100 years old.  Although there have been only 4 different owners throughout the homes existence there has been a number of ‘alterations’.  My home still has some of its original 10” baseboards, crown molding and leaded windows but a lot of the homes original features have been changed.  Mind you updated wiring, plumbing, windows and insulation are great changes.  We (hubby and me) have probably done the most changes to the home but a lot of those were necessary.  Every owner wants to put their personal style into the home so sometime in the ‘70’s all the walls on the main and 2nd floor had paneling applied to them.  Not cherry or gumwood but the ‘cheesy’ kind so well-known for the ‘70’s.  In the ‘90’s another owner decided to wallpaper over all the paneling but first had every single groove in the paneling plastered over to give the wallpaper a smooth finish.  Not an easy or inexpensive task.   When we finally became the homeowners we initially painted every single paneled/plastered/wallpapered wall but slowly, room by room we started to tackle the job of gutting the walls.  This allowed us to start putting some insulation into the house, to update the wiring and add new drywall.  Upon removal of the cheesy ‘70’s paneling we discovered that on the back side the paneling was made of mahogany!  Can you imagine, one of the more valuable wood species in the world that has always been associated with fine furnishings was degraded to cheesy paneling?  It seemed such a waste to dispose of this ‘outstanding’ paneling especially since mahogany trees are now endangered.  We kept these sheets of paneling and have since been using them to make items like my built-in desk.  Isn’t it amazing when you scratch beneath the surface what you may find?


Eaton’s Catalogue

I recently came across a 1976 Spring/Summer Eaton’s Catalogue.  Truly a trip down memory lane!  The T. Eaton Co. Limited founded in 1869, was once Canada’s largest department store that became a national institution in Canada.  Eaton’s issued their first catalogue in 1884. For 92 years the Eaton’s catalogue was a household fixture but due to financial reasons the 1976 Spring/Summer catalogue was their last catalogue ever issued.  It was really fun to look through the 700 page catalogue of very retro fashions and to see what the trends of the mid-70’s were.   For clothing, denim/stretch denim was hot, as were caftan dresses, tube tops, platform shoes for men and women and Speedo® bathing suits were just being introduced.  What I found really interesting was the home furnishings and décor.  Of course the popular colours of the time were harvest gold, avocado and brown in everything from appliances to bedding.  But it was the fabrics that were being used for bedding and drapery that had me so interested.  The 1970’s were all about “easy care” with fabrics that promised “permanent press, no-iron, machine washable, carefree, wrinkle-shy, resists the harmful effects of heat, humidity, sunlight and smoke”.  Synthetic materials were opted over natural fibres as they “eliminated chores”.  Fabrics being used for bedding were: ARNEL, AVRIL, MODACRYLIC, FIBERGLAS, FORTREL, DACRON, LANESSE, and TERGAL.  Arnel was the trademark name of a synthetic fiber developed in the 1950’s but was discontinued by the manufacturer in 1986 due to concerns about the toxicity of a chemical used to manufacture the fiber.  Modacrylic (modified acrylic) was produced in 1949 by Union Carbide Corporation.  And Fiberglas?  When it comes to the cyclical nature of fashion (and home decor) isn’t it nice to know that some things are left behind?